
The front Park Assist system may issue false alerts on the Driver Information Center on some 2023-2026 Silverado 1500, Sierra 1500; 2024-2026 Silverado 2500HD/3500HD and Sierra 2500HD/3500HD trucks when there are not any objects present in front of the vehicle. No related DTCs will be set.
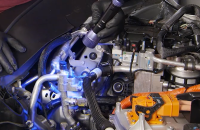
In many cases, a false alert may be caused by the sensors being obstructed by mud, dirt, snow, ice, or slush. (Fig. 9)

Fig. 9
Aftermarket Lighting
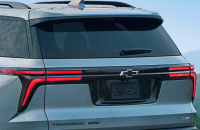
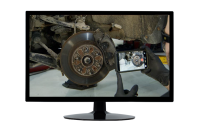
Several recent cases have shown aftermarket LED lighting (Fig. 10), including headlights, parking lights and similar components, also may affect the operation of the Park Assist system.
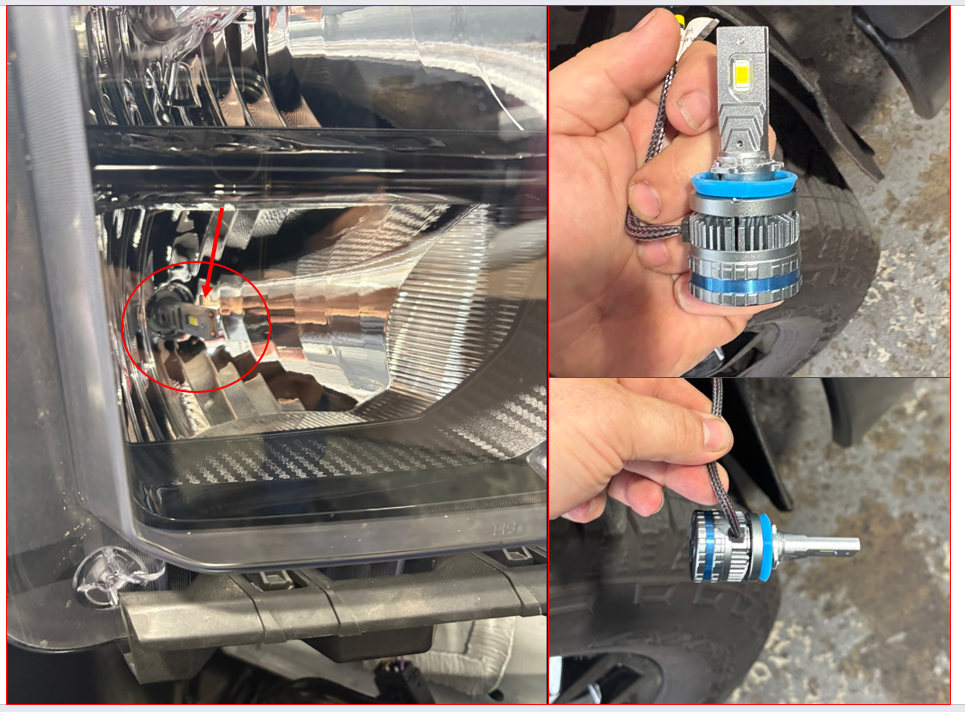
Fig. 10
Before replacing any components or performing in‑depth diagnostics, inspect the vehicle for aftermarket LED lighting. If any aftermarket LED bulbs are present (headlights, parking lights, turn-signal lights, etc.), reinstall the original factory bulbs and evaluate the system’s operation.
For more information, refer to #PIT6531.
Sensor Installation
On some vehicles, unwanted or false alerts may result from burrs or excessive paint at the sensor openings in the bumper or incorrectly installed isolator rings on the sensors. If an issue exists with the way the Park Assist sensor and/or bezel is mounted or painted, the sensor can ground out or be squeezed and pick up normal vehicle vibrations. These normal vibrations, which would not ordinarily be picked up by the sensor when properly mounted and isolated from the vehicle, could be interpreted by the Park Assist sensor as an object. Since the sensor is working normally, there will not be any DTCs set.
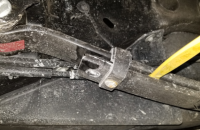
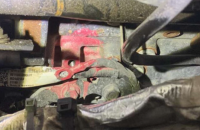
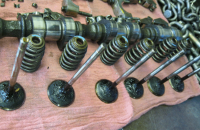
Perform a visual inspection of the Park Assist sensor(s) and bezel(s). Look for any stone chips, dents, paint chips, damage, etc., as well as any issues with the installation of the silicone ring. (Fig. 11) If any issues are found, repair as necessary.

Fig. 11
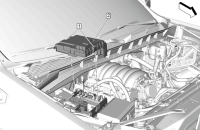
In addition, check that the Park Assist sensor bezel(s) are properly mounted in the bumper hole. If the bezel is not properly mounted, it can lead to a sensor grounding out or the sensor getting squeezed. The bezel has four locking tabs that secure the bezel to the bumper. Ensure all four mounting tabs are fully engaged. (Fig. 12, tab shown (#2) not fully engaged)
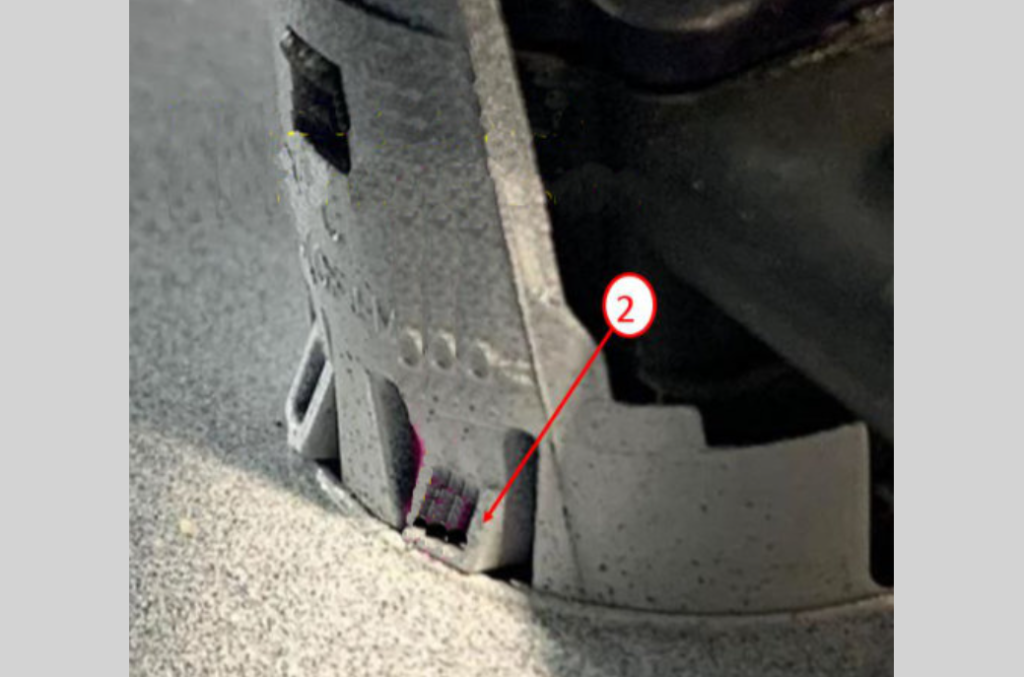
Fig. 12
Refer to Bulletin #22-NA-068 for more information, including several conditions that may prevent the bezel mounting tabs from fully engaging.
– Thanks to Jim Will


