
Some 2020-2026 Silverado 1500 and Sierra 1500 trucks equipped with the 3.0L diesel engine (RPO LM2, LZ0) may have a squeak or clunk sound coming from the rear of the vehicle, usually at low vehicle speeds or when the suspension is cycling through movement. The noise may be caused by the rear leaf springs. In some cases, the left rear leaf spring insert may have been contaminated with diesel fuel during refueling.
If fuel contamination is found, the left leaf spring insert should be replaced. (Fig. 4) In addition, if the foam seal around the fuel filler pipe is damaged or missing, a new foam seal should be installed.
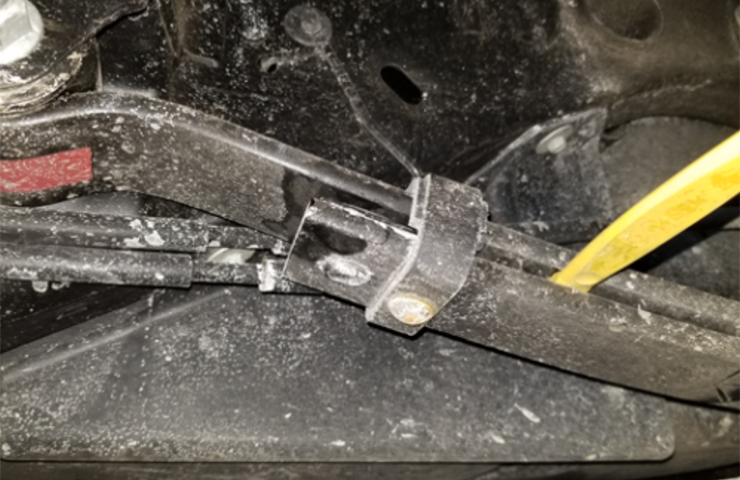
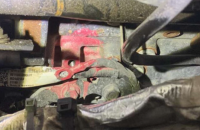
Fig. 4
Fuel Contamination
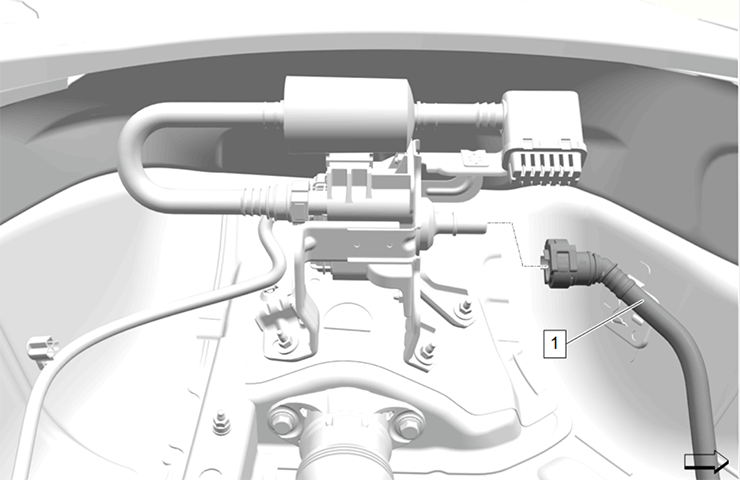
While refueling the vehicle, diesel fuel may have run down the fuel filler pipe from any fuel kick back or when the fuel pump nozzle was removed. (Fig. 5) As a result, diesel fuel may contaminate the left rear leaf spring insert in the spring eyelet.
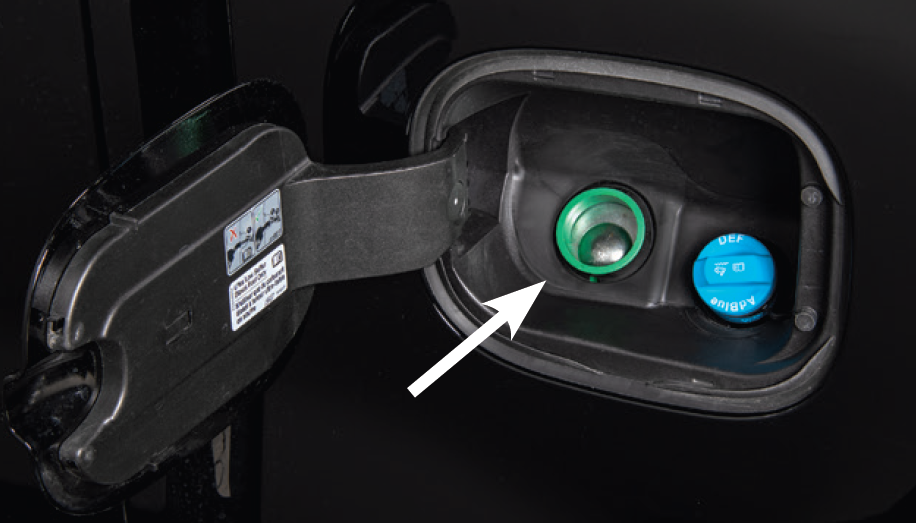
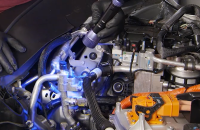
Fig. 5
When contamination occurs, or if there are any substances or material in the leaf interface, the interaction between the leaf spring elements changes, leading to noise as the components move over each other.
Before performing any repairs, inspect the left rear leaf spring. Check the front half of the leaf spring for signs of diesel fuel contamination, including visible residue or a wet condition at the front leaf spring insert.
TIP: The foam seal around the fuel filler pipe is designed to help keep fuel drips and incidental small spills from contaminating the leaf spring and other components. If a large fuel kick back occurs, or there is a large spill of fuel into the pocket, an effort should be made to remove the excess fuel from components that may have been exposed to diesel fuel.
Leaf Spring Insert
Inspect the rear leaf springs and shackles for any damage. Damaged springs or shackles should be replaced following the procedures in the appropriate Service Information.
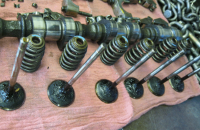
If there is not any damage, install new leaf spring inserts on each rear leaf spring. (Fig. 6) Begin by cleaning the springs to remove any diesel fuel or contamination between the leaf elements.
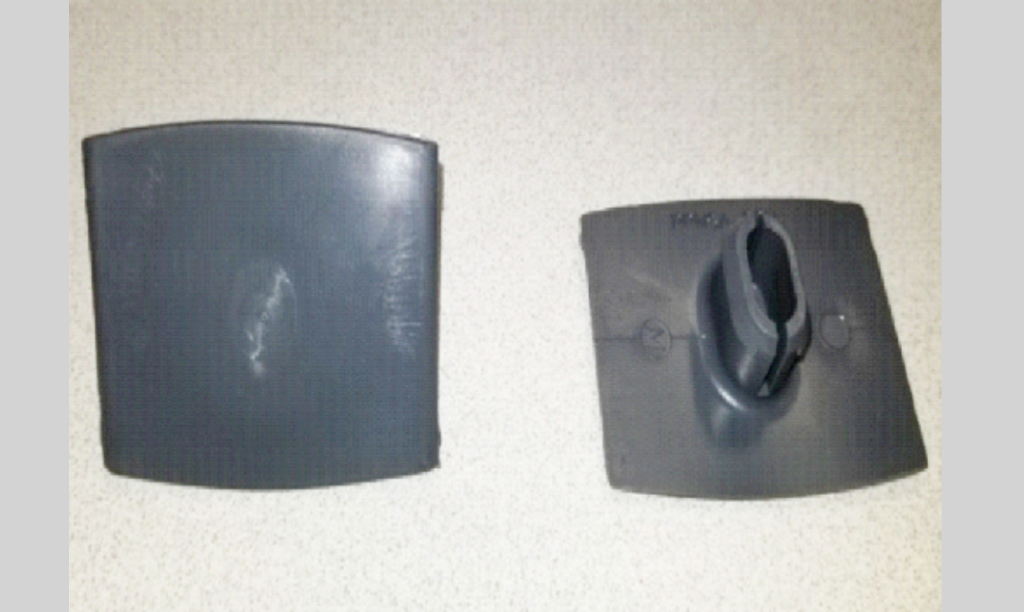
Fig. 6
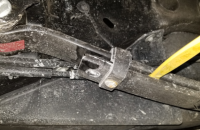
Next, insert a plastic trim tool or plastic wedge between the #1 and #2 leaf springs to access the old insert. Push up on the insert and cut off the stem using a suitable cutting tool. (Fig. 7)
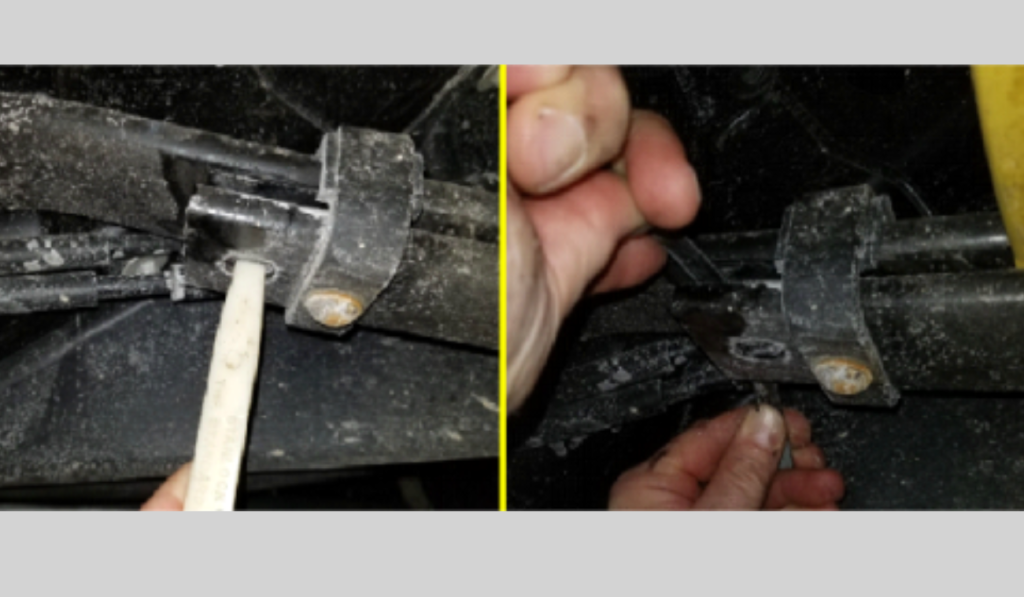
Fig. 7
Remove the top portion of the insert and then remove the bottom portion of the remaining stem. Clean any dirt or debris from between the leaf springs.
The stem of the new insert will need to be cut down to 6 mm (0.24 inches). Once the stem is cut, apply a small amount of RTV sealer around the base of the stem. (Fig. 8)

Fig. 8
Install the new insert into the leaf spring so that the stem portion lines up with the slot in the spring. With the insert positioned correctly, remove the trim tool or plastic wedge to close the spring and seat the new insert. Repeat this procedure for the other leaf spring insert.
TIP: New spring inserts have a break-in period of up to 1,000 miles (1,610 km), so some noise can be expected after the new inserts are installed.
Do not use any kind of lubricants on the new spring inserts. They are designed to work without any lubricant.
Fuel Filler Pipe Foam Seal
When fuel contamination is found, check the fuel filler pipe for a missing seal around the pipe or for any damage to the seal. If the seal is damaged or missing, a new foam seal can be installed around the pipe using a locally obtained high density polyethylene foam pad. The pad material must be polyethylene foam.
Cut the foam pad to the following dimensions: (Fig. 9)
1) Length – 200 mm (7.9 inches)
2) Width – 15 mm (0.6 inches)
3) Thickness – 6.4 mm (0.25 inches)
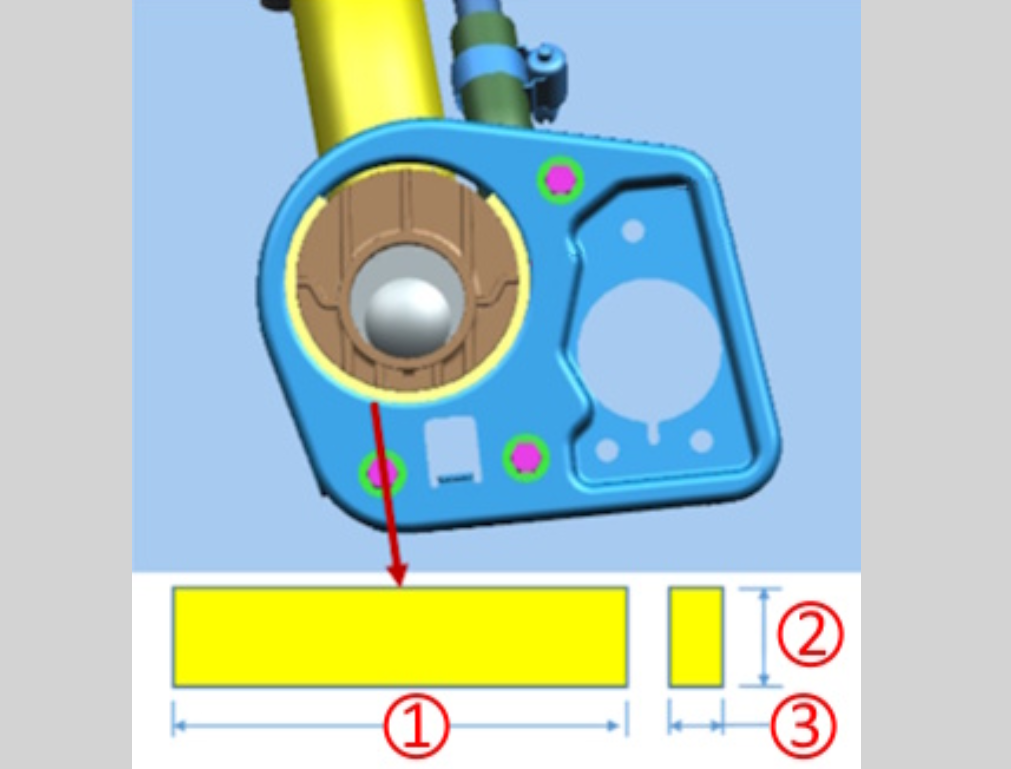
Fig. 9
Remove the fuel filler pipe housing to access the fuel filler opening. Clean off any residual fuel from the fuel filler opening and pipe before installing the new polyethylene foam strip in the filler opening. Position the foam strip to cover the lower portion of the opening. (Fig. 10)
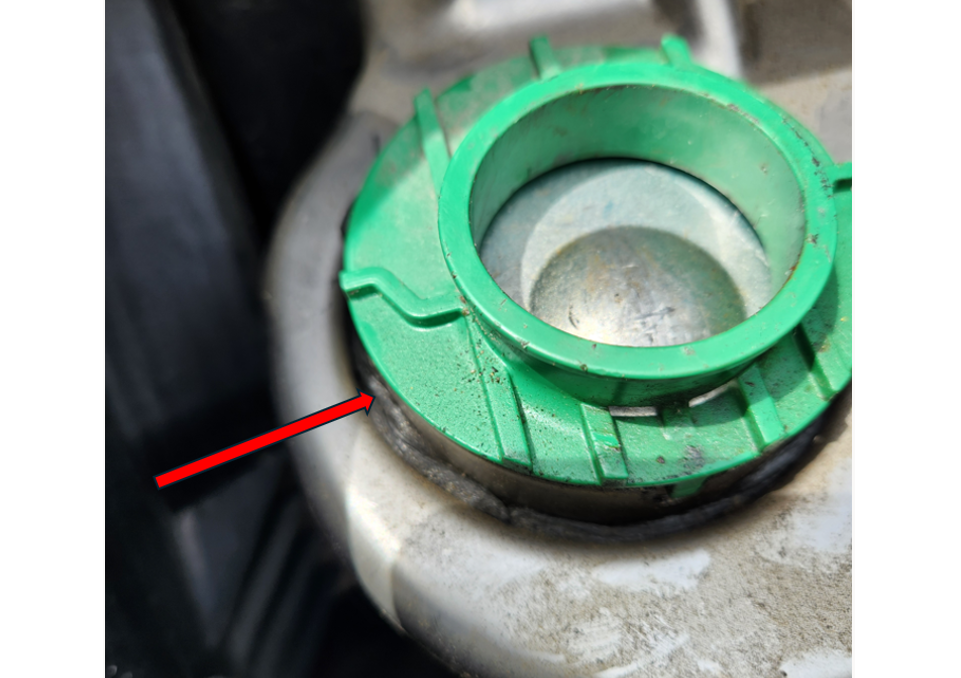
Fig. 10
For more details, including part numbers, refer to Bulletin #26-NA-084.
– Thanks to Mike Waszczenko


