
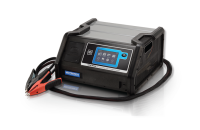
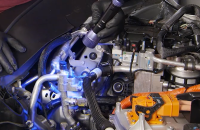
The fluorescent dye installed in the air conditioning refrigerant system of all current GM vehicles helps in locating leaks in the A/C system. Using the GE-42220 Universal 12V Leak Detection Lamp (Fig. 2), the leaks in the system will be indicated in a fluorescent light green or yellow color when checking fittings, connections, A/C components, seals, hoses and other areas.
 Fig. 2
Recently, several evaporators and other A/C parts that were replaced on 2021-2025 Tahoe, Suburban, Yukon and Escalade models have shown No Trouble Found during warranty analysis. The poor performance of these A/C systems may have been the result of a loss of refrigerant, not the operation of the components.
Be sure to follow the diagnostics in the appropriate Service Information to prevent the unnecessary replacement of system components. The GE-50078 Electronic Leak Detector can be used to find smaller, passive leaks in addition to using the Leak Detection Lamp for most medium-to-large leaks.
When checking for leaks, preform an A/C refrigerant recovery using the GE-50300R-1234yf Air Conditioning Refrigerant Recovery/Recharge Cart to see how much refrigerant is in the system before adding A/C dye. Only use fluorescent dye approved by GM.
Depending on the leak rate, a leak may not become visible for between 15 minutes and 7 days.
Keep in mind that condensation on the evaporator core or refrigerant lines may wash the fluorescent dye away from the actual leak. Condensation also may carry the dye through the HVAC module drain.
While wearing the yellow glasses, use the GE-42220 Universal 12V Leak Detection Lamp to visually inspect all refrigerant lines, all fittings and connections that use seal washers or O-rings, and all A/C components. On the full-size SUVs, be sure to check:
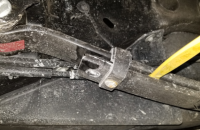
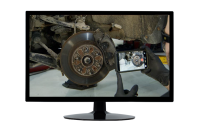
- Front HVAC drain, located over the transmission case at the center of the vehicle. To access the drain, remove the left front wheel. (Fig. 3)
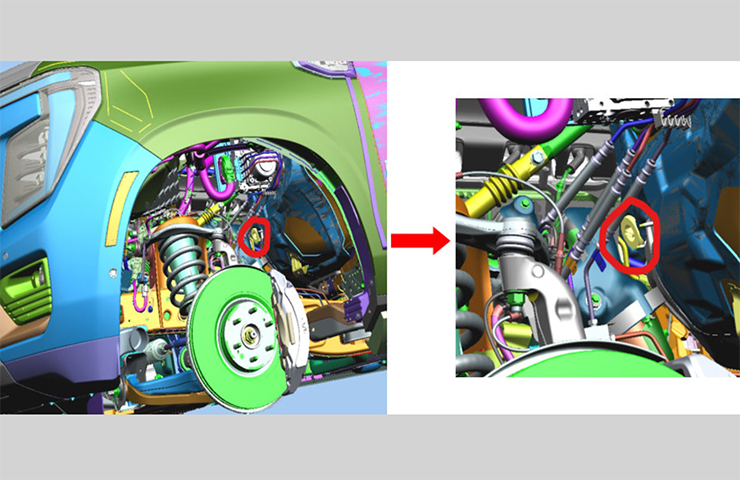 Fig. 3
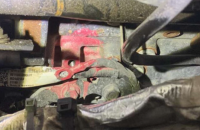
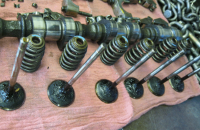
- A/C refrigerant heat exchanger (Fig. 4)
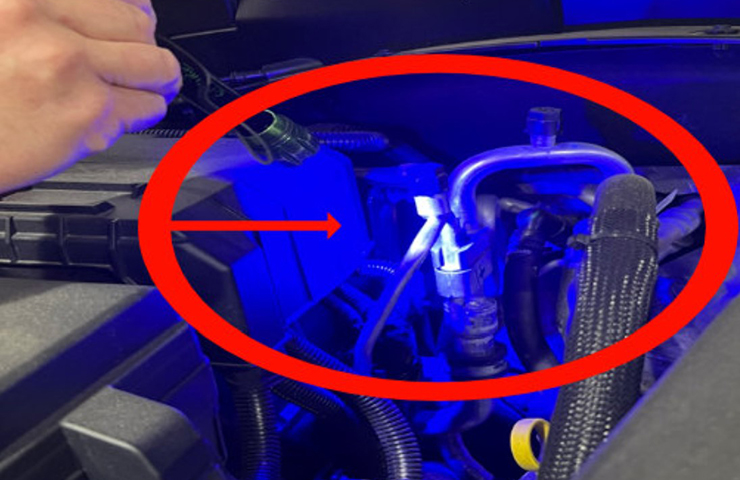 Fig. 4
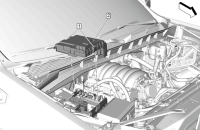
- A/C condenser connections. Remove the intake air splash shield for access. (Fig. 5)
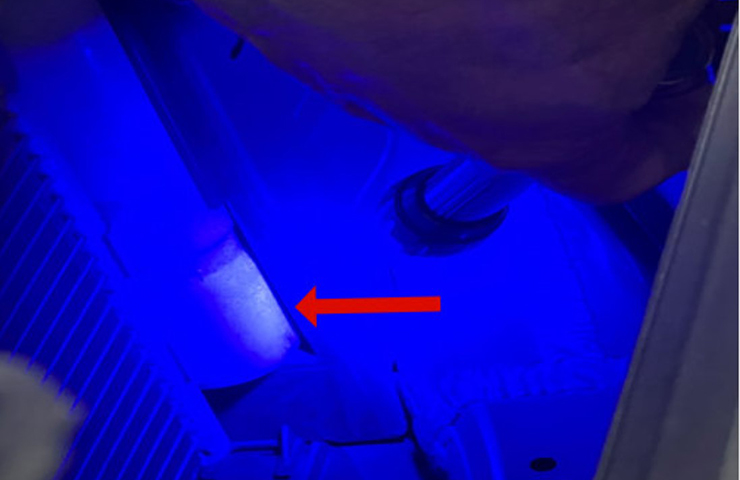 Fig. 5
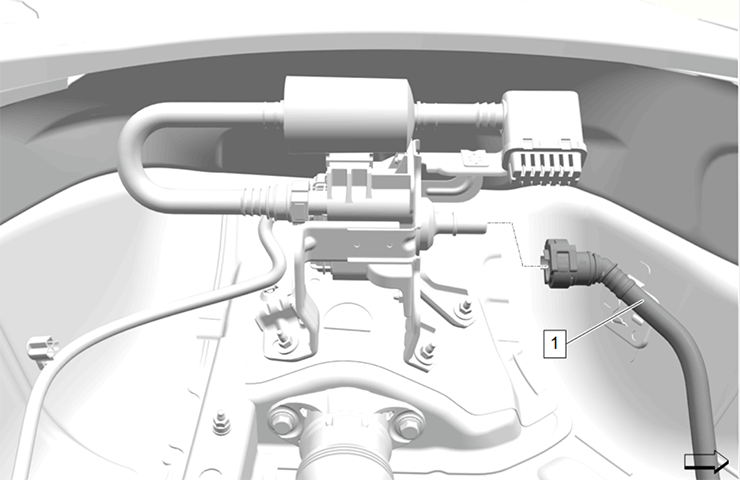
- A/C pipes and connectors. Raise the vehicle for a better view under the components. (Fig. 6)
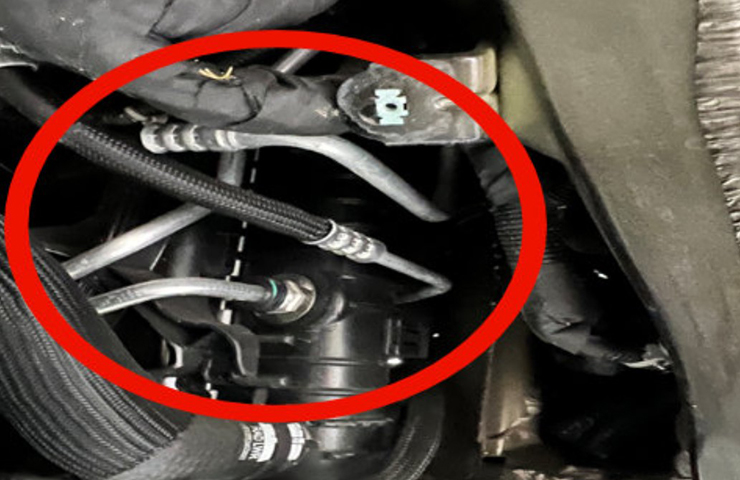 Fig. 6
TIP: To prevent false diagnosis in the future, thoroughly clean any residual dye from the area where a leak was found using a rag and GE-43872 Dye Cleaner.
Refer to Bulletin #25-NA-191 for additional information and to Leak Testing and Refrigerant Recovery and Recharging in the HVAC section of the appropriate Service Information.
For a closer look at using the Leak Detection Lamp, check out the August GM Service Know-How Emerging Issues seminar (10225.08V).
– Thanks to Mike Waszczenko


Refer to Bulletin #25-NA-191. A diagnostic labor time is being added to the bulletin.
Mike, look under PREFACE in labor time guide, it has A/C System Leak Analysis for .2hrs. get with warranty admin to claim this time.
more work less pay
Refer to the A/C System Analysis labor code when diagnosing A/C system leaks. Bulletin #25-NA-191 is being updated with additional information.
WHY DOES GM NOT PAY US ANY DIAGNOSIS TIME FOR ANY LEAK REPAIRS ????