The GM Accessories Outside Rearview Mirror Housing Cover Package available on 2021-2027 Tahoe, Suburban, Yukon and Escalade requires removing the mirror glass from the current mirror housing before installing the new mirror housing cover. (Fig. 7)
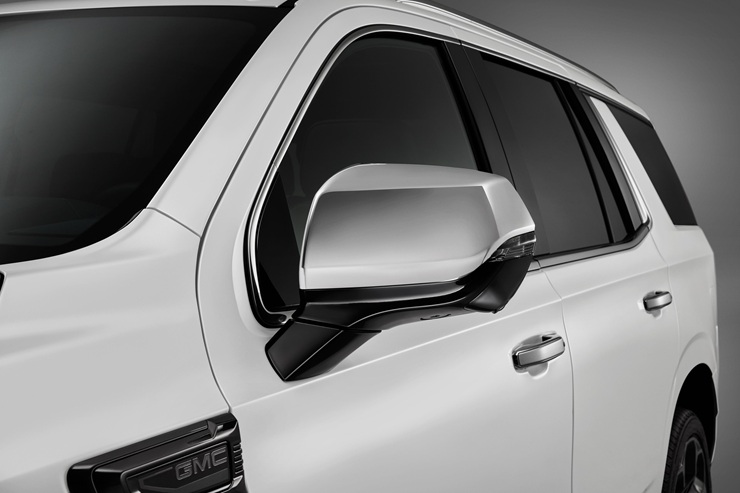
Fig. 7
TIP: If proper care is not taken during the mirror glass removal process, there is the possibility that the glass could break or be damaged. (Fig 8) Damage to the mirror glass during removal is not covered by the new vehicle warranty.
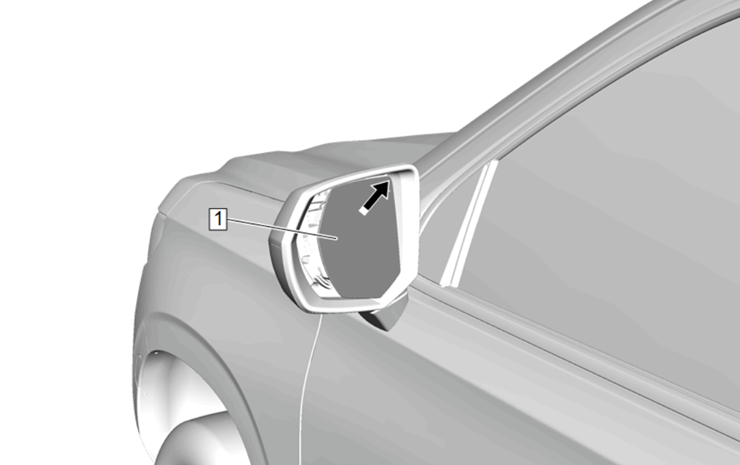
Fig. 8
Be sure to follow all the procedures covered in the latest Service Information and GM Accessory instructions,
Mirror Glass Removal
Steps 3–5 in the installation instructions covers how to remove the mirror glass from the production mirror housing.
Before attempting to remove the mirror glass, masking tape should be applied over the mirror glass and the mirror housing bezel. Next, apply pressure inward at the top of the mirror glass until full travel is reached. (Fig. 9)
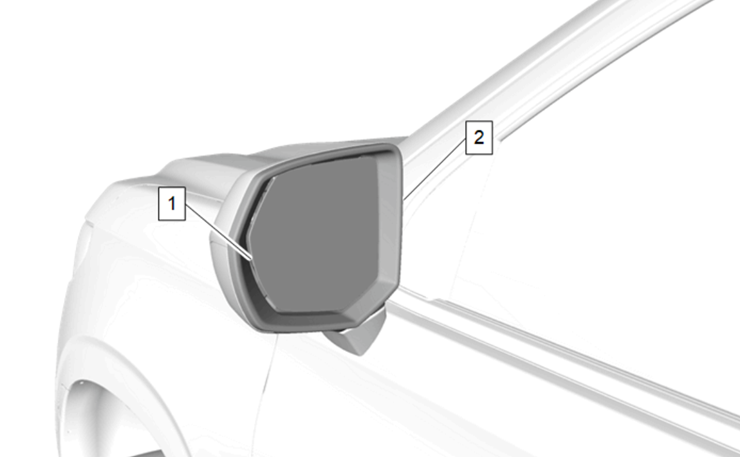
Fig. 9
Insert a long, flat-bladed tool into the slot around the lower-left corner of the mirror glass (driver-side mirror) or lower-right corner of the mirror glass (passenger-side mirror). (Fig. 10) Rotate the tool, without pulling it, and release the glass from the mirror actuator.
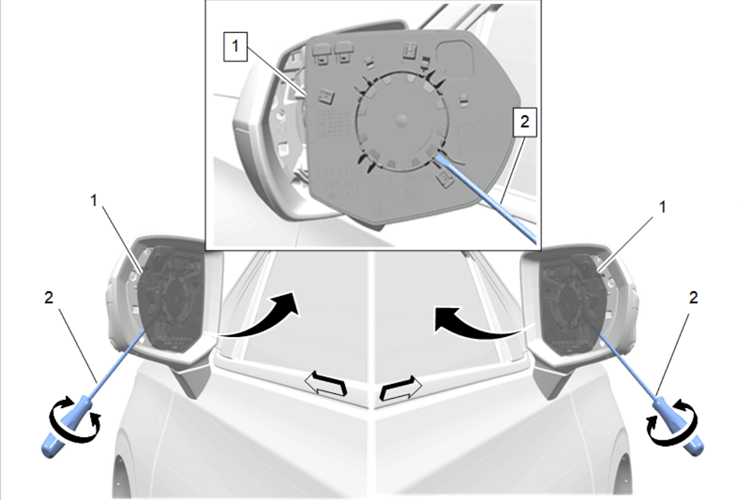
Fig. 10
TIP: There is an increased risk of breaking the mirror glass if a flat-bladed tool is not used. Do not use your hands to remove the glass.
Apply even pressure on the mirror glass and pull outward until the glass releases from the mirror actuator. (Fig. 11) Disconnect the electrical connectors and set the glass aside on a clean, protected surface.
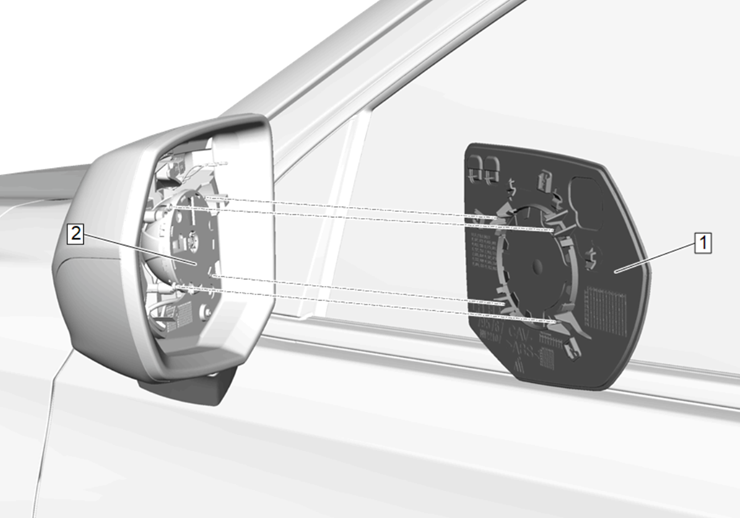
Fig. 11
Follow the instructions to remove the bezel and the cover from the mirror housing.
Installing the Mirror Glass
After installing the new mirror housing cover (Fig. 12), install the bezel and properly route the wiring. Connect the electrical connectors with the mirror glass in position to the housing.
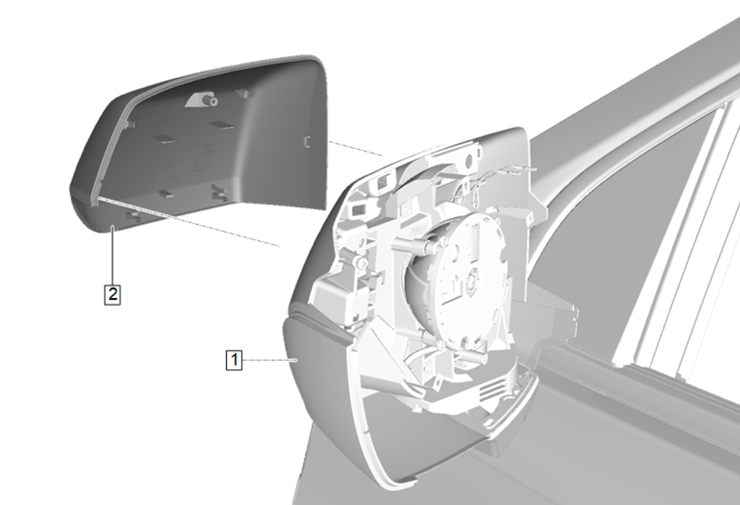
Fig. 12
Align the mirror glass retainers with the mirror actuator and carefully apply pressure to the glass until it is fully secured.
For more information, refer to the appropriate Service Information and GM Accessory Installation Instructions.
– Thanks to Mark Shearer