
The front seatback cover on some 2017-2019 Bolt EV models may become detached between the upper seatback cover and the side air bag. An updated seatback cover design has been released to address this condition. The new design features additional J-hooks that secure more tightly to the side air bag trim in order to reduce the gap. (Fig. 1)
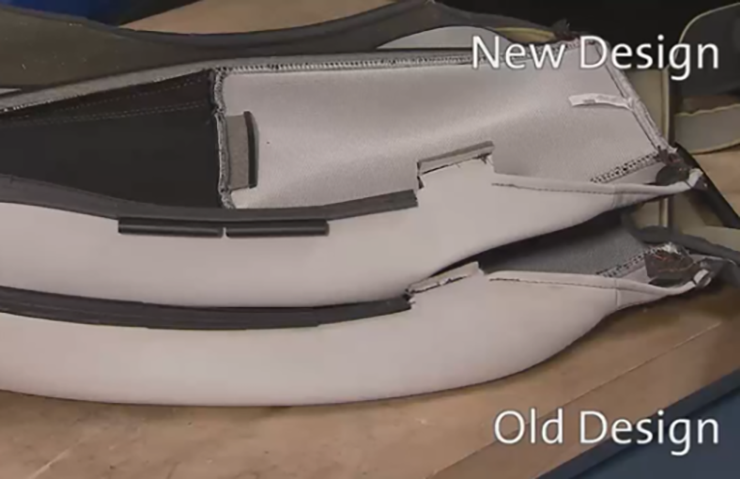 Fig. 1
The procedure for removing and installing the front seatback cover is extensive and achieving a proper fit requires attention to detail. The Service Information has been updated with the replacement procedure for the 2nd design seatback cover. Here are a few tips to keep in mind when performing the procedure.
Seatback Cover Removal
Replacing the seatback cover requires removing the seat from the vehicle as well as removing the head restraint from the seat, the inner recliner finish cover, the seat recliner handle, the seat adjuster vertical actuator handle, and the seat outer finish cover.
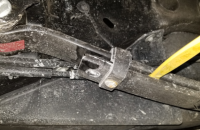
To begin removing the front seatback cover, release the J-hook retainer at the outboard seatback side air bag using a flat-bladed tool or trim stick and remove the seatback upper support bolt. (Fig. 2)
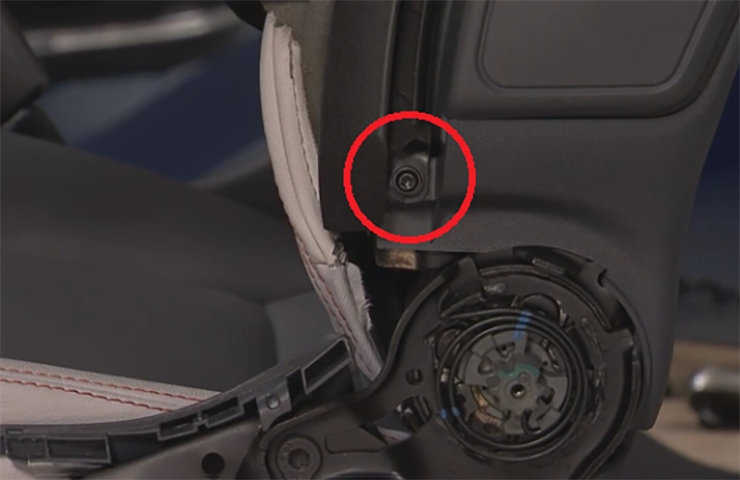 Fig. 2
Next, disengage the seatback cover along the seatback upper support, side air bag, and the inboard side of the seatback using a trim stick to push in and release the seatback cover retainers. (Fig. 3) Also disengage the seatback cover at the bottom of the seatback latch finish cover. The seatback cover retainers are arrow retainers.
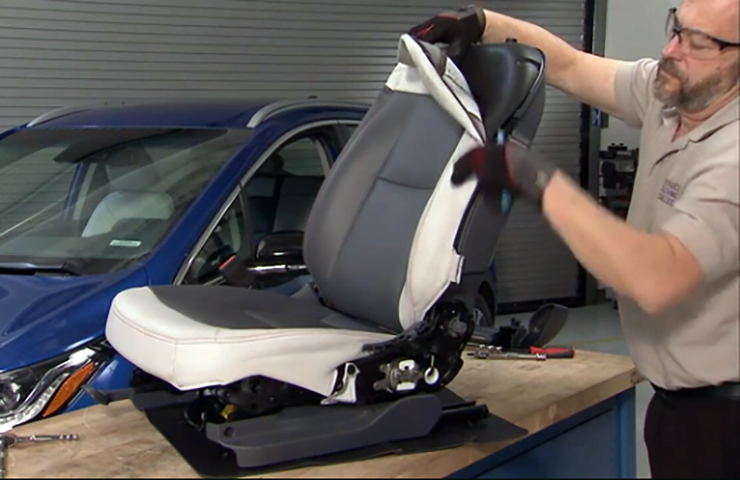 Fig. 3
Use a flat-bladed tool to push in and release the seatback cover retainers at the top of the finish cover. (Fig. 4) With the top of the cover released, reposition the upper support bracket around the side air bag and pivot it upwards.
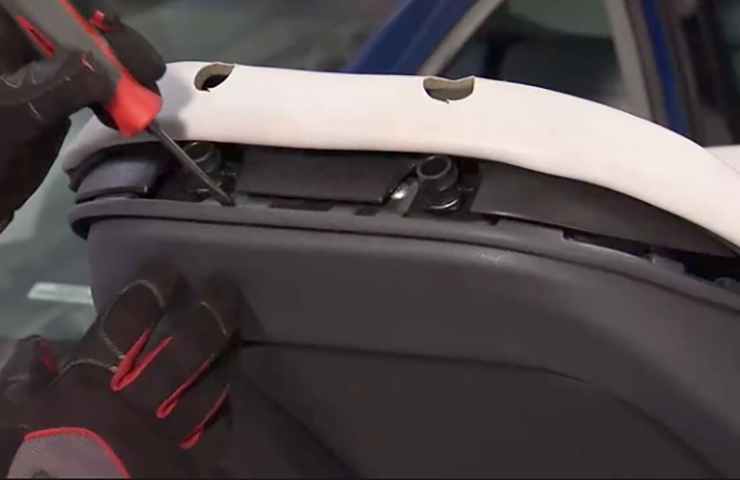 Fig. 4
Pull the finish cover outward and then upward to disengage the lower retainers and remove the finish cover from the seat frame. Remove and discard the seatback upper support.
Remove the two lower seat cover push-in retainers at the bottom of the seatback. They will be reused during installation of the new seatback cover.
Pull the seatback cover through to the front of the seat to clear the seat hinges. Next, pull the black spline retainer out of the seat frame around the entire edge of the frame and remove the arrow retainer from the channel in the middle of the seatback cover. (Fig. 5) Finally, remove the seatback cover from the seat frame.
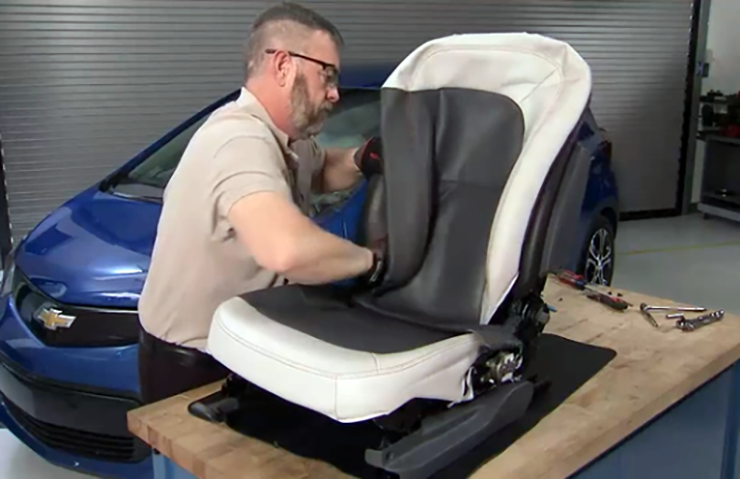 Fig. 5
Installing the New Seatback Cover
The 2nd design seatback cover comes with two additional J-hooks in the lower seatback area. (Fig. 6, A) It also uses J-hooks around the side air bag, arrow retainers around the edge and bottom of the seatback cover (Fig. 6, B), and a black spline retainer along the inner edge of the cover. (Fig. 6, C)
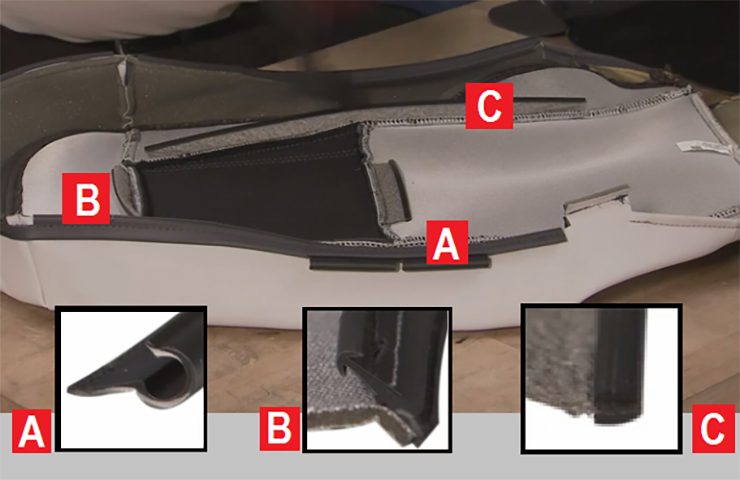 Fig. 6
Begin the installation of the new cover by aligning the middle section of the seatback cover with the channel in the middle of the seatback. Use a trim stick to seat the retainer into the channel. (Fig. 7)
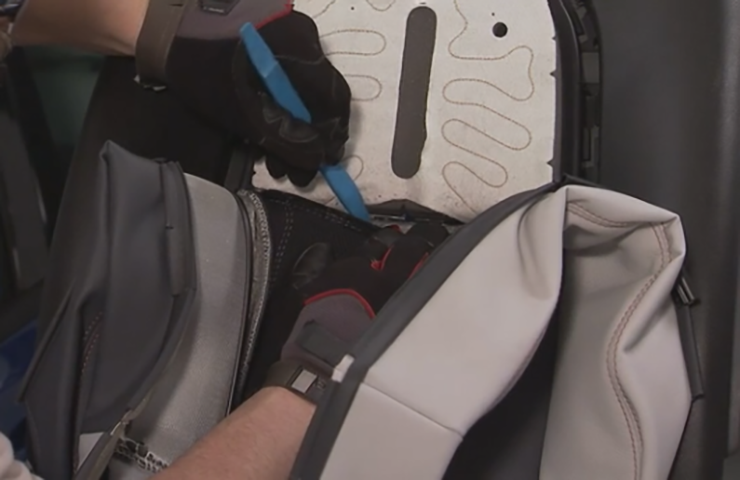 Fig. 7
Work around the edge of the seatback cover to seat the black spline retainer into the channel.
Push the lower seat cover fabric through to the back of the seat and secure the push-in retainers, from the original seatback cover, into the lower set of holes in the seat frame. (Fig. 8)
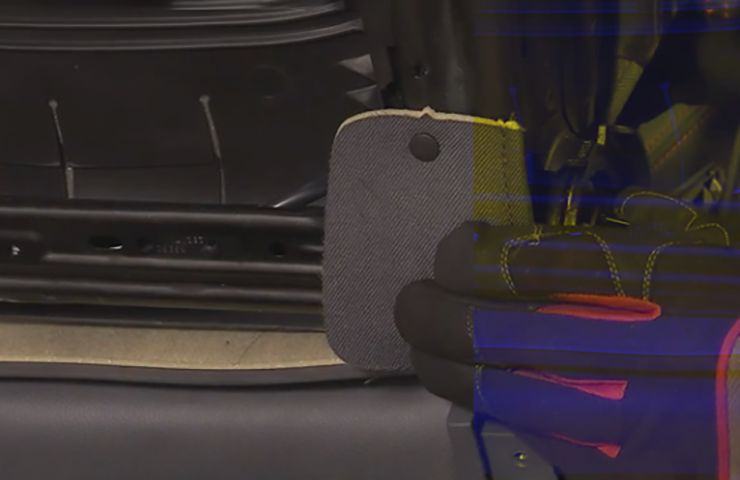 Fig. 8
Install a new seatback upper support (Fig. 9), which will help hold the seatback cover closer to the air bag cover.
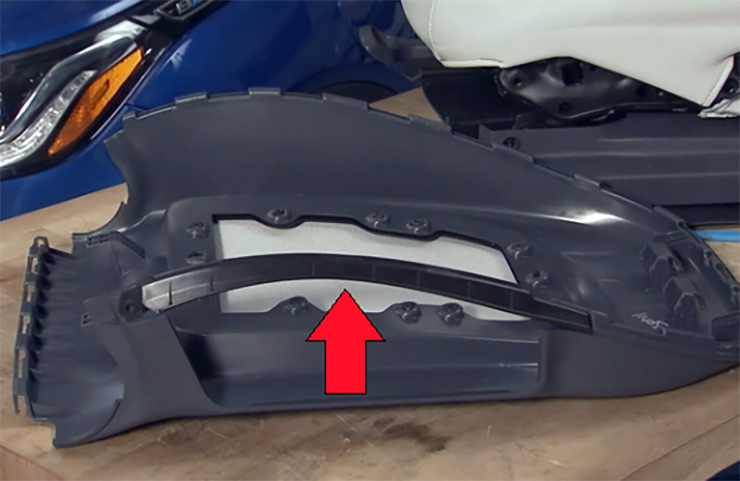 Fig. 9
Raise the upper support and then push the seatback latch finish cover down and inward to engage the lower retainers. Make sure that the channel in the seatback cover fits around the trim of the side air bag.
The seatback finish cover is secured to the frame at the lower part of the cover and at the top of the cover. (Fig. 10)
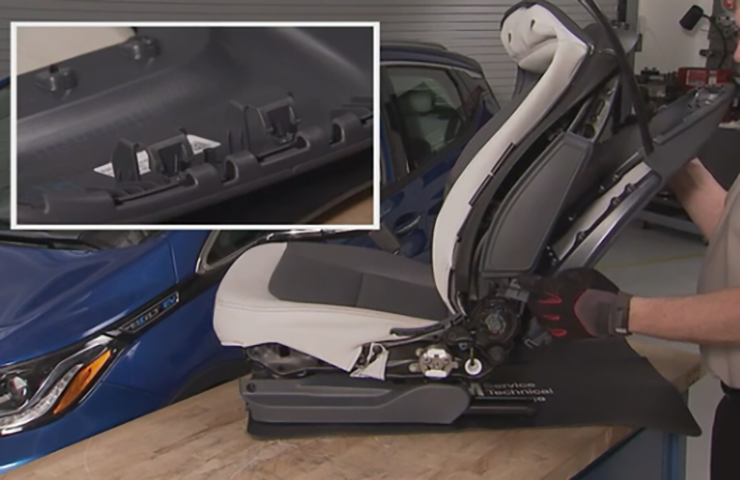 Fig. 10
Install the seatback cover bottom first, ensuring that both retainers are properly seated on the lower seat frame. Lower the upper support around the side air bag and positon the seatback cover to engage the seatback latch finish cover retainers at the top of the seatback. Reinstall the seatback finish panel bolt that secures the upper support. Tighten to specification, but use care not to overtighten.
Next, fold back the arrow retainers on bottom of the seatback cover and install them into the channel on the lower edge of the seatback cover.
Pull the seatback cover up into position. Use the head restraint posts to confirm the cover is centered on the seat. Flip the center arrow retainer on the seatback cover and push it into the channel. Engage the other retainers along the top and inboard side of the seatback latch finish cover. (Fig. 11) The retainers will make an audible click when engaged in the channel. Continue to secure the retainers along the side air bag.
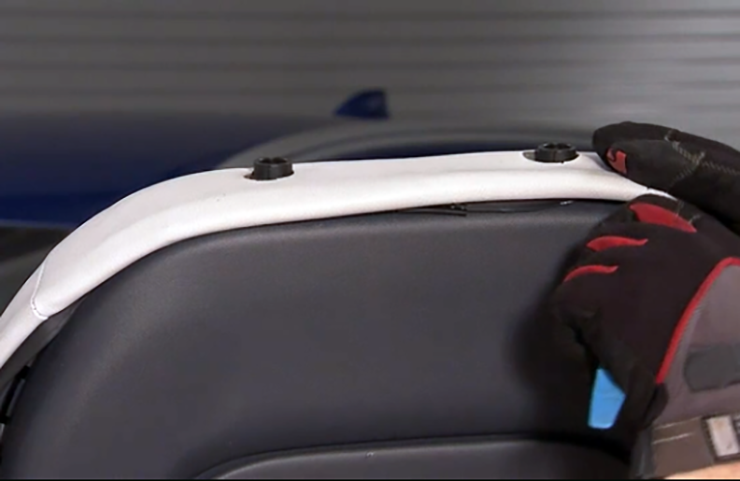 Fig. 11
To install the new J-hooks around the rim of the outboard air bag, modify a flat-bladed trim stick by making it thinner approximately 40 mm in length from the end of the tool. (Fig. 12) The extra clearance is needed to properly install the new J-hooks. Be sure to only push the J-hooks in far enough to hook around the rim of the side air bag.
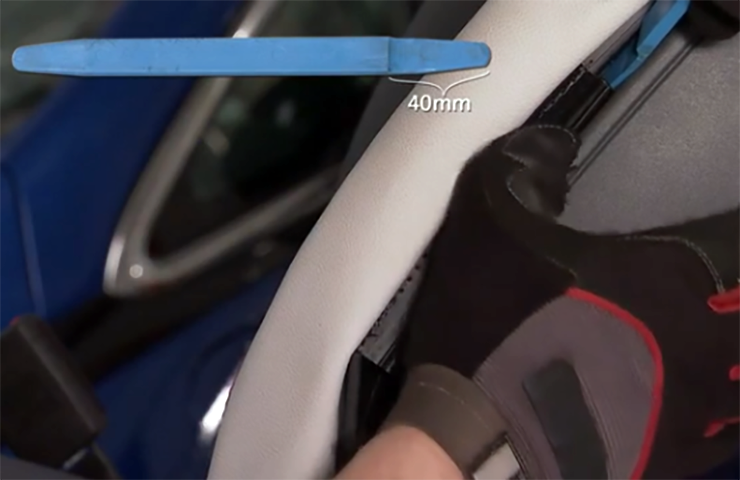 Fig. 12
Secure the lower J-hook under the seatback cover at the side air bag. Fold the J-hook into the fabric so the sewn-in stitching of the J-hook goes into the middle of the upper support. This will allow the J-hook to snap into the side of the upper support. Check that there are not any wrinkles or gaps in the fit of the seatback cover.
Finish the installation be reinstalling the trim pieces, adjustment handles and head restraint. (Fig. 13)
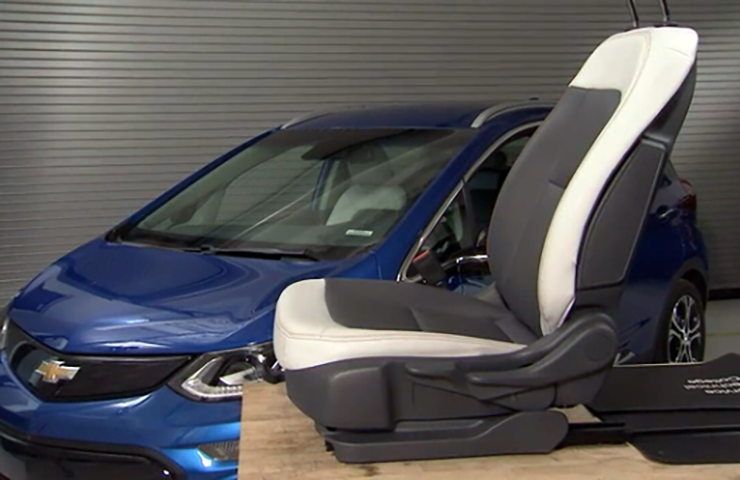 Fig. 13
To view a video of the seatback cover installation procedure, check out the April 2019 Emerging Issues seminar, 10219.04V, on the GM Center of Learning at centeroflearning.com (U.S.). In Canada, review the May 2019 edition of TAC Talk.
– Thanks to Chuck Wieseckel


