
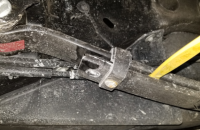
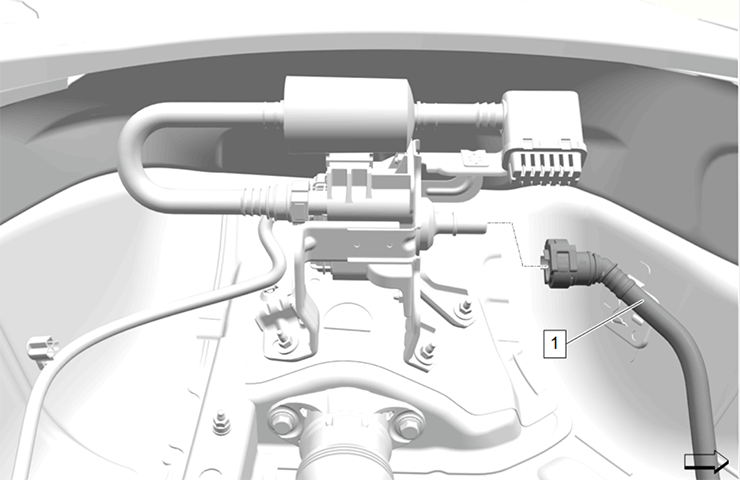
Diagnosing front seat movement conditions on 2016-2022 Malibu and 2019-2022 XT4 models requires verifying the operation of the seat adjuster track. If there are issues with fore/aft movement, binding or other conditions, check for proper operation of the motor bridge as well as the flex shaft of the H-frame assembly. (Fig. 12) There should not be any excessive noise or any fore/aft travel restrictions when adjusting the seat position.
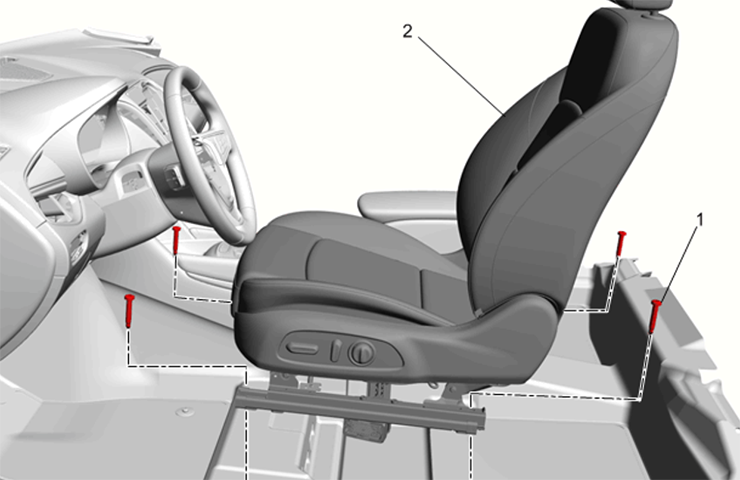 Fig. 12
If diagnosis leads to the need to replace the front seat adjuster track, the H-frame assembly has recently been released as a service part. Do not replace the complete seat cushion frame assembly for a seat track movement condition.
Ordering the H-Frame Assembly
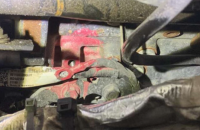
To order an H-frame assembly (Fig. 13) for the driver’s seat, passenger’s seat, or driver’s seat with memory functions, refer to the Electronic Parts Catalog (EPC). Search by VIN to identify the correct seat application.
TIP: Do not order the complete seat cushion frame assembly in the EPC. Only the H-frame assembly is needed in most cases to address any seat track movement conditions.
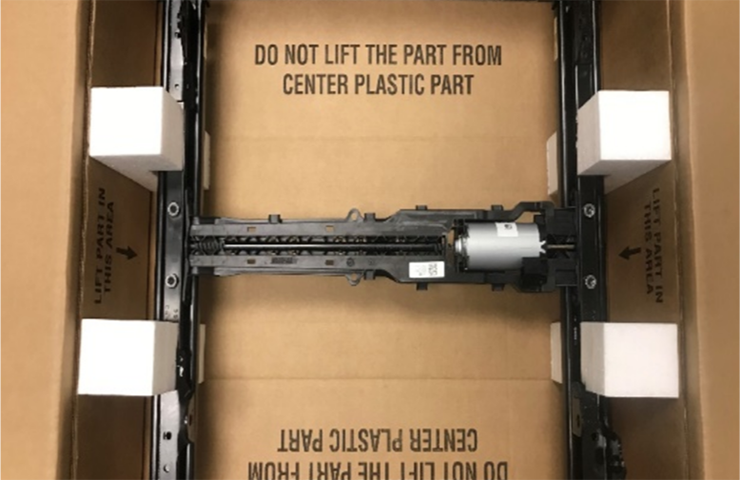 Fig. 13
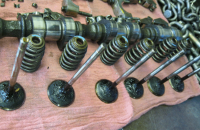
H-Frame Assembly Replacement
Before removing the front seat from the vehicle, be sure to follow the SIR disabling procedures. Once the seat is removed, turn it over and place it on a protected surface to access the four fasteners attaching the front seat adjuster track (Fig. 14)
 Fig. 14
TIP: To remove the new H-frame assembly from the shipping container, lift it up with one hand on each track. (Fig. 15) Do not lift the H-frame by holding the bridge; it may cause damage to the material.
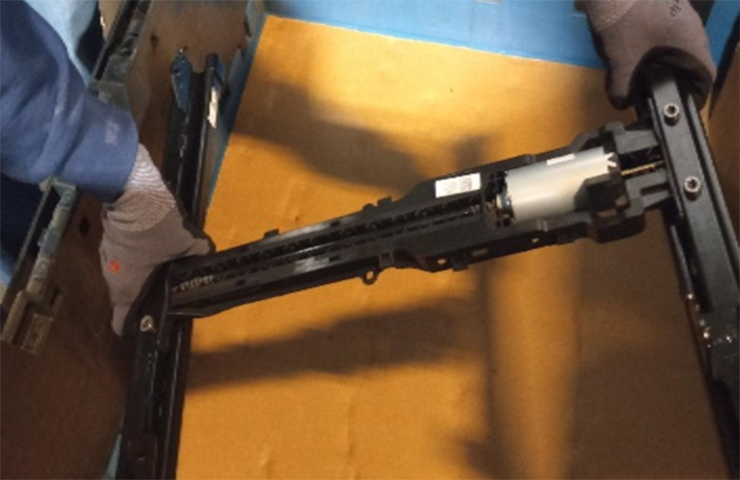 Fig. 15
If new threaded components are used when installing the new adjuster track, loosen the adhesive using a metal pick or similar tool before tightening the bracket bolts to specification.
If the threaded components are reused, remove any loose, cured adhesive from the external threads. Thread the cleaned components into the internal mating threads to remove any loose or trapped cured adhesive. Next, apply thread locking adhesive to the external threads, making sure there are not any gaps in the adhesive. Tighten the bracket bolts to specification.
For additional information on adjuster track replacement, refer to Front Seat Adjuster Track Replacement in the appropriate Service Information (Doc ID 5784739). The labor time for the adjuster track replacement service procedure also has been updated. Also refer to Bulletin #21-NA-212.
– Thanks to Daryl Funds and Atampreet Singh


