
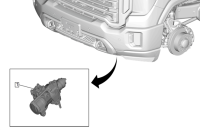
Several DTCs set in the Engine Control Module (ECM) may be caused by an exhaust leak on some 2020-2022 Silverado 1500, Sierra 1500; 2021-2023 Tahoe, Suburban, Yukon and Escalade models equipped with the 3.0L Duramax diesel engine (RPO LM2). (Fig. 1) The exhaust leak will allow oxygen into the exhaust and result in an incorrect Nitrogen Oxide sensor reading.
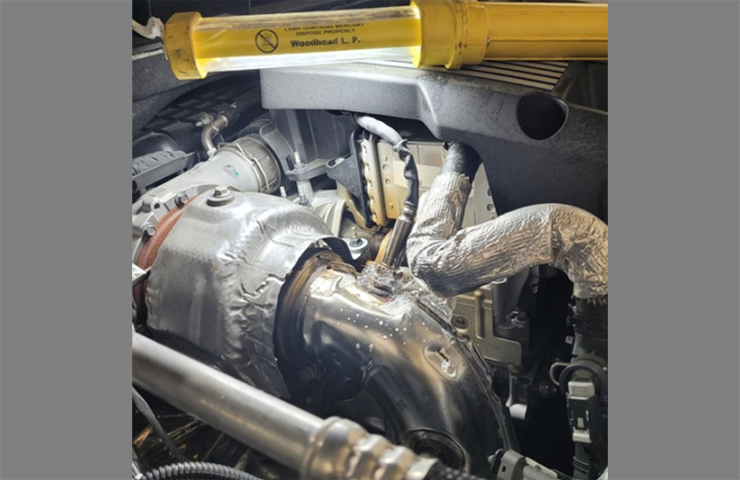 Fig. 1
The following DTCs may be set:
- P11D5: Nitrogen Oxides Sensor 2 Exceeded Minimum Learning Limit
- P14D9: NOx Sensor Exceeded Minimum Learning Limit Bank 1 Sensor 3
- P20EE: Nitrogen Oxides Catalytic Converter Efficiency Below Threshold
- P2C7A: Nitrogen Oxides Catalytic Converter 2 Efficiency Below Threshold
- P0421: Catalytic Converter Low Efficiency
There are two different types of leak tests that can be performed on the induction or exhaust system — a smoke leak test where the area being tested is filled with pressurized smoke and the leak is detected by visually inspecting for smoke exiting the system or a pressure leak test where soapy water is applied to the outside of the area being tested and leaks are visually identified by the presence of bubbles forming over the leaking area. When determining which test to perform, consider that with a smoke test, the smoke is often easy to see exiting relatively large leak locations but is harder to see exiting a smaller leak. Smoke also can be removed when it passes through the Diesel Particulate Filter (DPF). Using a pressure leak test, bubbles will form over a small leak, making it easy to spot, but it’s difficult for a soap film to form over a large leak.
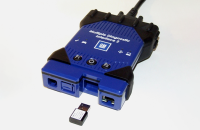
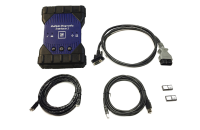
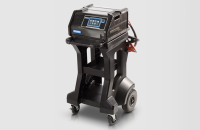
To help identify the location of the exhaust leak on the 3.0L diesel exhaust system, perform a leak test using the GE-52250 High Pressure Leak Detector.
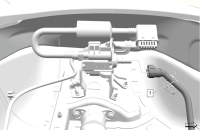
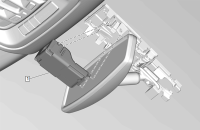
Refer to Bulletin #22-NA-168 for details on using the GE-52250 High Pressure Leak Detector to locate the exhaust leak. The cooling ports in the exhaust system (Fig. 2) must be sealed off before installing the inflatable adapter from the GE-52250 machine. (Fig. 3)
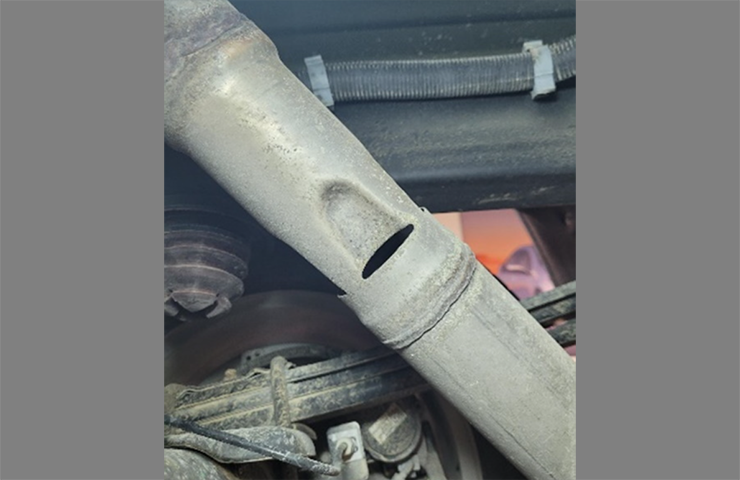 Fig. 2
In addition, check the joint between the rear Selective Catalyst Reduction (SCR) and the tail pipe. If there is a large leak at this joint, any smoke or pressure introduced during testing will escape. Seal the joint before testing.
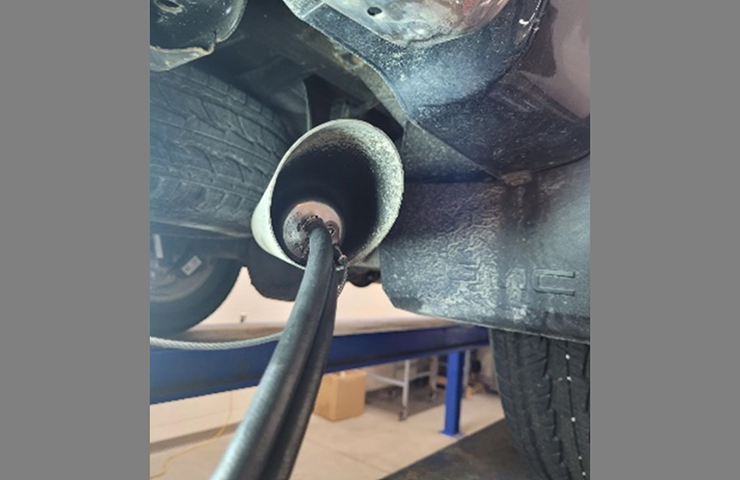 Fig. 3
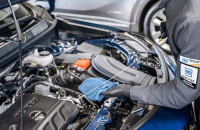
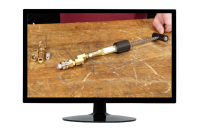
Using the vapor test and the shop air supply along with a soapy water mixture (Fig. 4), all connections, welds and sensors should be checked for air leaks. These areas include the turbocharger, NOx sensors, DEF injector and clamp connections. (Fig. 5)
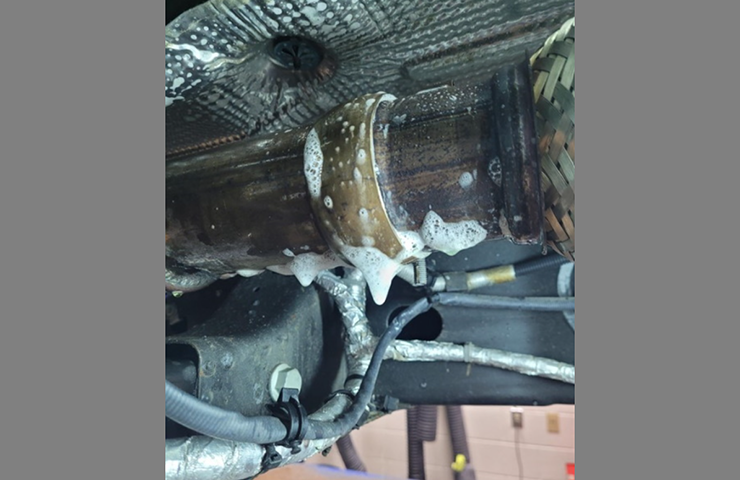 Fig. 4
TIP: A leak at the turbocharger vane actuator shaft or the EGR back-pressure valve actuator is considered a normal condition. Any smoke or bubbles from these areas should be ignored.
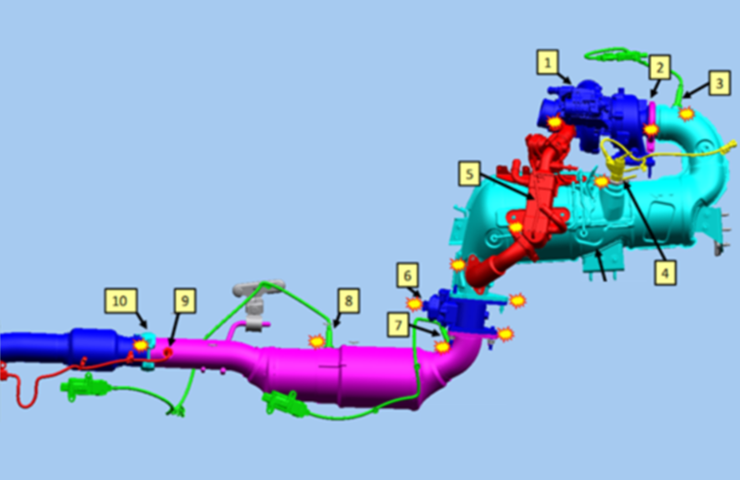 Fig. 5
Once all leaks have been identified and corrections to the exhaust system have been made, verify that the exhaust is sealed by retesting with the GE-52250 High Pressure Leak Detector.
For additional information, refer to Bulletin #22-NA-168.
– Thanks to Larry Yaw


Can someone talk about numbers in one of these documents?
Docs say set test pressure 5-7. Is that before hitting the TEST button, or after? (It’s much different).
How much flow is TOO MUCH? When is the Flow Control adjusted and to what setting?
How much pressure drop across the system from Test Pressure to System Pressure is TOO MUCH?